|
This Greenhouse Plan is only one
design of many possibilities to grow your own!
If you would like to replicate it, follow the simple
directions below.
Material List:
- Three Sheets of 2" hard
insulation; 4' x
8'
- Six Fence Posts: 4" x 4" x 8'
- Two Treated Boards: 2 x 6 x 10'
- Two Treated Boards: 2 x 4 x 10'
- Eight Treated Boards: 2 x 4 x
8'
- Four Treated Boards: 1 x 3 x
10'
- 1/2" Treated Plywood: 2'
x 2'
- Four Metal Corner Brackets for
the door
- Two Hinges for the door
- One Roll of Six Mil Plastic:
20' x 24'
- Galvanized Framing Spikes :
Half pound
- Galvanized Screws 1 5/8":
One pound
- Four yards of clay dirt
- Two yards of top soil
- Four yards of gravel
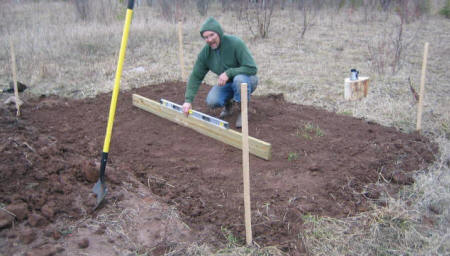
Step 1, Prepare Site -
Select a spot 8' x 12' that receives sun most of the day.
Stake out the ground and level it at ground level using a
straight board and level.
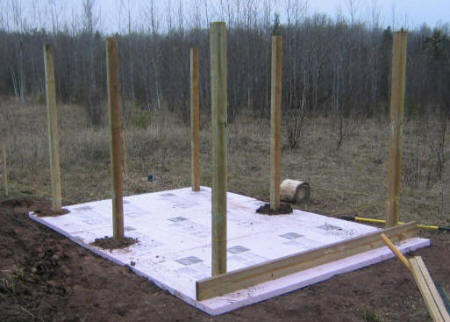
Step 2, Post Placement -
Select 4 x 8, Two" Insulated Foam material; layout the
six, 4" x 4" holes in the foam per the diagram above (Notice
the center piece is different from the two ends).
Position the three foam sheets on the leveled ground, check
for level; mark the six holes with paint or a stick.
Move the foam sheets to the side and dig six holes to the
depth of 24" each. Beginning at one end, place one end
piece of foam, install the two posts; plumb and level each
post and secure in place with bracing; then, backfill with
clay dirt or "Quickcrete" cement.
Set guide strings in place using the
two set posts as benchmarks. Position the middle foam
sheet and two posts followed by the end section using the
guide strings to set the remaining posts. Even all
straight posts to 6' above the foam.
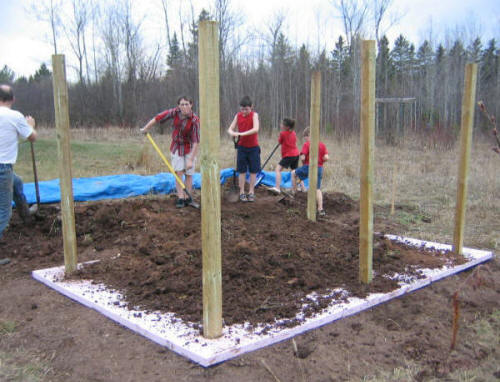
Step 3, Cover the Insulation -
Cover the foam insulation panels with a minimum of 18" of
clay soil or soil with heavy compost that will hold moisture.
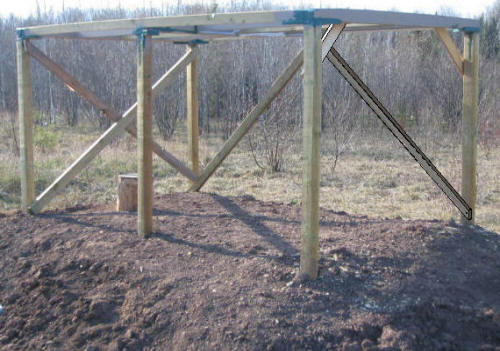
Step 4, Build and Install the Top
Frame - Select four, 2 x 4 x 8's; at one end, use two
pieces as cross bracing. On one side, use two pieces
as side bracing as shown above.
Select one, 2 x 6 x 10, rip it in
half (each piece equals 2 3/4"); each piece will be used as
the top frame outer edges. Select two, 2 x 4 x 8' for
Left/Right edges; cut them to 6'; lay them out onto a flat
surface to form the rectangle outer frame as shown above and
nail them together with framing spikes.
Select the other 2 x 6 x 10 and
position at midpoint as shown above, and nail into place;
this higher board will allow the water to drain from the
roof.
Select two, 2 x 4 x 10's and
position them equally spaced as shown above, and nail into
place.
Select the 1/2" piece of treated
plywood; cut it into four, equal-sized right triangles; Turn
the Top Frame over so the flat bottom is facing up; square
the Top Frame, place the triangles into place and secure
them with 1 5/8" screws as shown above.
Turn the Top Frame over again so the
frame is resting upon the four triangles. Select a 2 x
4 x 8'; cut to size the four pieces for cross-bracing; nail
them in place as shown above. Use a belt sander to
smooth off and taper all the rough edges.
With some help, carry the Top Frame
to the Greenhouse location, place the Top onto the six level
posts, line up the edges, and secure the Top to the posts
using framing spikes through the plywood into the posts.
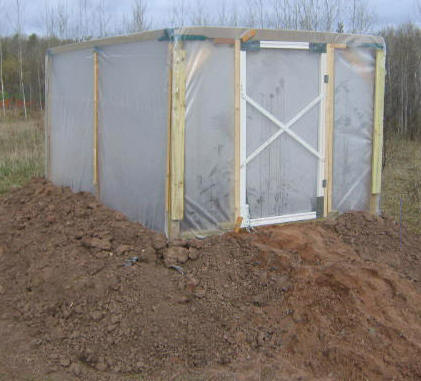
Step 5, Build Door Frame and Door-
Select 2 x 4 x 8'; measure the opening of the door end, and
cut it to fit as the Base Plate; level and toe nail the Base
plate into place as shown above.
Select four, 2 x 4 x 8'; measure the
height from the Base Plate to the Top Plate; cut the four
pieces to fit, ensure they are plumb, and toe nail the Door
Opening Frame Supports in place as shown above.
Select one, 2 x 4 x 8'; rip it in
half to make 2 x 2's for the door frame; use metal, corner
support brackets for the corners of the door. Build
your door to the size of the opening, allowing for a 1/8"
clearance all around; add a crossing support to keep the
door square. Cover the door with six mil plastic (use
furring strips to keep the plastic in place). Use two
external hinges to hang the door; attach a latch to open and
close. Also cut and add door stops around the
perimeter of the door frame.
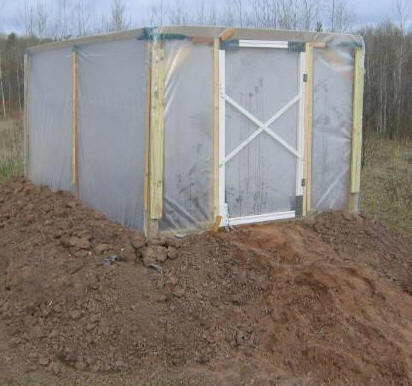
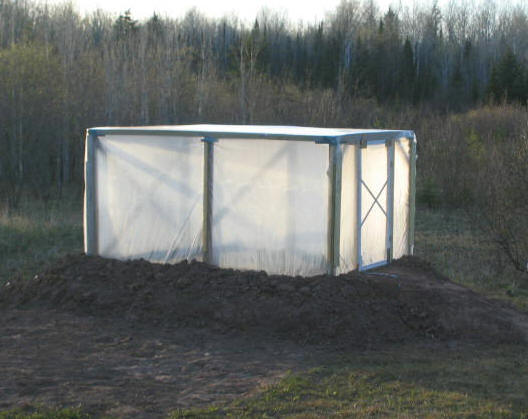
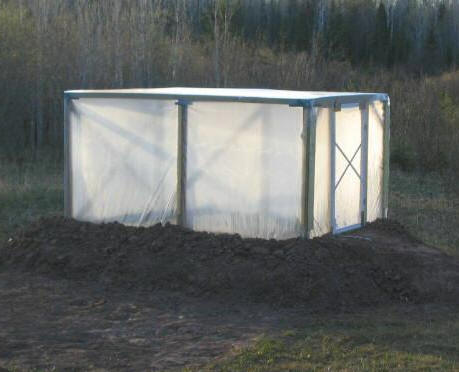
Step 6, Cover With Plastic- Select the
six mil plastic and cover the entire structure (there should
be at least 12" excess on all four sides; gather and attach
to the corner posts using 1 x 3 furring strips; Add
dirt and gravel around the perimeter on top of the excess
plastic to keep the greenhouse air tight.
Step 7, Plant Seeds - Add some
top soil and mulch, select the seeds of choice and plant;
add some water and a thermometer to monitor a mild
temperature and moisture content. If the temps get too
high during a sunny day, allow the door to remain open so
the plants do not become over-heated. Once the plants
become semi-mature, and the night-time temps consistently
remain above 50, the plastic can be removed and stored away
for next spring. The plants will continue to grow in
their environment. For those in the northern climates,
this system will add 30-60 days to your growing seasons.
Adding a heat source and artificial light can only improve
your growing successes.
|